Tuesday, October 21, 2014

10 Fantastic Fall Recipes. ~ Sweet Treats!

I have seen SO many amazing DIY Fall Recipes circulating the web & I wanted to do a bit of a collection here to share them with you.  


Favourite Fall Recipes

This is an all around mix of recipes. Some are healthy, some are clean eating, paleo, vegan, gluten free etc.  All around amazing recipes that deserve a share! <3

Pumpkin French Toast


- By Cooking Classy


pumpkin-french-toast2-edit+srgb.


Crock Pot Pumpkin Spiced Latte


- From - Thriving Home


pumpkin-latte-recipe


Paleo Apple-Cinnamon Pancakes Recipe


-By- Paleo Newbie


PaleoNewbie-Apple-Banana-Cinnamon-Pancakes-3-1266x850-630x425


PUMPKIN PIE PROTEIN BALLS


By- Get Healthy U


unnamed-1-500x500


apple coconut crisp


By- delicious by dre


applecrisp.dbd_1


Pumpkin Pie Protein Smoothie


By - Will Cook For Friends


8013888816_9671e5b25e


Healthy Homemade Pumpkin-Spiced Walnut Butter


By- Desserts With Benefits


Healthy-Pumpkin-Spice-Walnut-Butter


Pumpkin Nog


By- The Green Forks


Pumpkin-Nog-5


HALLOWEEN SWEET POTATO FRIES


By - Tablespoon - Recipe by Cheeky Kitchen


2013-10-30-sweet-potatos-7-680x324


gluten free vegan pumpkin hand pies + bob's red mill gluten free pie crust


By - Sarah Bakes Gluten Free Treats


pumpkin hand pies2


And here are a few of our own - in case you missed them.


Pumpkin Spice Creamer


Pumpkin Spice Creamer


Pumpkin Spice Sugar Blend


pumpkin spice sugar


I'll also be having my husband write a recipe on his pumpkin puree dressing. It's delicious on everything!


 10 Fantastic & All Natural Fall Inspired Beauty Recipes. 


10 Fantastic Fall / Halloween Craft Ideas!

DIY - Jack-O-Lantern Jars! - A fun project for the whole family!

I haven't really posted any DIY craft projects on here yet (new blog post category?) BUT I figured, in the spirit of Halloween, why not share something that we hold dear as part of our traditional decor each year!

These are so cute, take minimal effort to create, and yet are a very effective addition to spooky decor. We made our Jack-O-Lanterns back in 2010 and they still come out every year, just as great as the last.

These are truly my favorite part of our Halloween decorations as we created them together, as a family. <3

DIY Jack-O-Lanterns

What You'll Need:


  • Recycled Jars - Mason Jars, Baby Food Jars, Jam Jars, Pickle Jars etc.

  • Orange Tissue Paper

  • Black Construction Paper

  • Scissors

  • Paintbrushes

  • White Glue or Modge Podge

  • Newspaper to keep your work surface clean.


To Make:


prep list:

  • Lay down some newspaper where you will be working.

  • Tear the orange tissue paper into short strips for easiest application.

  • Cut out your Jack-o-Lantern faces from the black construction paper.

  • Pour your white glue into an old container. You can dilute it a bit with water, but it isn't necessary.


Paint a thin layer of glue on the jar and lay a strip of the orange tissue paper across. Paint another thin layer over the strip and continue this until your jar is fully covered.

Next, put some white glue on the backs of the jack-o-lantern faces and stick them to the jar where you'd like. Paint a thin layer of glue on top of them also.

Allow the jars to dry overnight. You may want to put one last coat of glue over the whole thing for extra protection.

Be sure to mark the bottoms of the jars with the name and year of who created them. <3

DIY Jack-O-Lantern Jars

These are actually the ones we made back in 2010 - still spooky as ever! ~ <3

Here are my handsome guys back in 2010 making up their jack-o-lanterns!

IMG_4846a

To light your lanterns up you can either place a tea light candle (beeswax alternatives) at the bottom and carefully light it with a long match stick or you can purchase battery operated flameless candles and use those instead.

DIY Jack-O-Lantern Candle Holders

DIY Pumpkin Candle Holders


Happy Crafting! ~ <3


*update* My son and I decided to do a couple with white tissue paper to make a ghost and a skeleton! :)

Ghost & Skeleton Lanterns


You can purchase any extra supplies over at Amazon.ca. I've created an aStore over at Amazon with all of the supplies needed to make these Jack-o-Lanterns HERE: DIY-Jack-O-Lantern-Supplies

Monday, October 20, 2014

blueLUNA Naturals ~ Shop Spotlight.

I wanted to take a moment to tell you all about this amazing shop! 

blueLUNA Naturals!


Dianna is the talented owner of this shop, creating absolutely beautiful all natural, organic, fragrance free, preservative free soaps!

Dianna also blogs about all things natural! She's got great posts about how to choose chemical free makeup, ditching commercial detergents, au-natural facial routines & more! You must go check her stuff out!

blueLUNA Naturals

I love the dedication that Dianna puts into her products!
We offer all-natural, preservative and fragrance-free soaps for those looking for only the best for their skin.  

These days, it seems impossible to find products that are truly healthy for our skin.  Our skin is our largest organ, and acts as a sponge absorbing more than half of what we put on it.  If you would not eat things you cannot pronounce, why then would you put it on your skin?  Our vegan soaps are made by hand, using the finest oils on the market and made without ingredients that can be harmful.  No fragrances, no preservatives, no artificial ingredients.....purely natural for your beautifully natural selves.

blueLUNA Naturals offers a wide variety of amazing and creative soaps, from sensitive skin, to soap for fur babies!

Here are just a few of her gorgeous creations: 

[caption id="attachment_1174" align="aligncenter" width="640"]Sage Eucalyptus 6.5 Refresh with Sage and Eucalyptus.  Exfoliator:  Thyme Sage Eucalyptus 6.5
Refresh with Sage and Eucalyptus. Exfoliator: Thyme[/caption]

[caption id="attachment_1172" align="aligncenter" width="640"]Sweet Lavender blueLUNA Sweet Lavender 6.5 Sweet Lavender makes "winding down" at the end of a long day essential. Exfoliator: Lavender Buds and Sugar[/caption]

[caption id="attachment_1173" align="aligncenter" width="640"]The Neem Machine 6.5 Neem Tree Oil is the star in this amazing bar of soap....the properties in Neem Tree Oil have been known to soothe the worst of the worst, and this bar has people with the most problematic and sensitive skin singing!  No exfoliants. The Neem Machine 6.5
Neem Tree Oil is the star in this amazing bar of soap....the properties in Neem Tree Oil have been known to soothe the worst of the worst, and this bar has people with the most problematic and sensitive skin singing! No exfoliants.[/caption]

You can find all of blueLUNA's available items for purchase HERE.


Find & Follow blueLUNA Naturals around the web:


WEBSITE | BLOG | FACEBOOK


<3


Dianna was so sweet as to mention The Herbal Healing Mama on her website for the October/ November In The Spotlight!


Thank You Dianna! 


I hope you all enjoy this gem of a shop as much as I have! <3


Happy Healing! ~ <3

DIY - Peppermint Tea Tree - Foot Soak

Give your tired aching tootsies a much deserved rest with this simple DIY foot soak. Epsom salts help to relieve pain by pulling toxins out of our body. Peppermint is great for releasing tension and relaxing nerves, it's also naturally cooling which helps relieve aches and pains.  Tea Tree has anti-fungal and antibacterial properties making it perfect to use for feet!  This mix of oils also works exceptionally well for combating odor.
“Take care of your body. It’s the only place you have to live.” – Jim Rohn

peppermint foot soak DIY all natural

What You'll Need:


Tools:

  • Mixing bowl & spoon

  • Airtight storage jars ( THESE, THESE, or THESE are similar to what I used)


To Make:


Depending on the amount you are making will depend on how much of what you will need. I suggest filling one of your jars and pouring it into the mixing bowl. Do this for however many jars you are making.

If you're adding baking soda you can mix it right in with the dry salts. 1-2 tbs per cup of salts should do the trick. (This helps to restore pH balance)

Next, add in your scent and colorant. (A little goes a long way with both) For a 250ml (half pint) mason jar I would start with 2 drops of blue, 1 drop of yellow colorant & 2-5 drops of peppermint oil and 1-3 drops of tea tree.

Mix everything until it's evenly combined. You can add in more scent or colour (or both) until you're happy.

peppermint tea tree foot soak 1foot soak diy natural

Once you've got the scent and colour you like, carefully spoon into your jar(s). You can do this with a funnel if it's easier.

Label your jars as you like, add a pretty ribbon etc.

peppermint foot soak diy

If you are using these as gifts, feel free to print out the label I've made up for my jars. You can also see our post on creating labels to make some of your own.

HHM PEPPERMINTTo Use - Scoop 1-2 scoops into at least a liter of warm water.- These little wooden scoops are adorable and would make a perfect addition to this for a gift.

Soak and enjoy!


Happy Tootsie Soaking! ~<3


DIY peppermint tea tree foot soak

I recommend Mountain Rose Herbs & Starwest Botanicals for all of your herbal healing needs! You can purchase any extra supplies over at Amazon.ca. Images Edited using PicMonkey. Some of the links here are affiliate sites. & Please also see my disclaimer. Thanks Friends.

Sunday, October 19, 2014

DIY Lip Scrub ~ All Natural

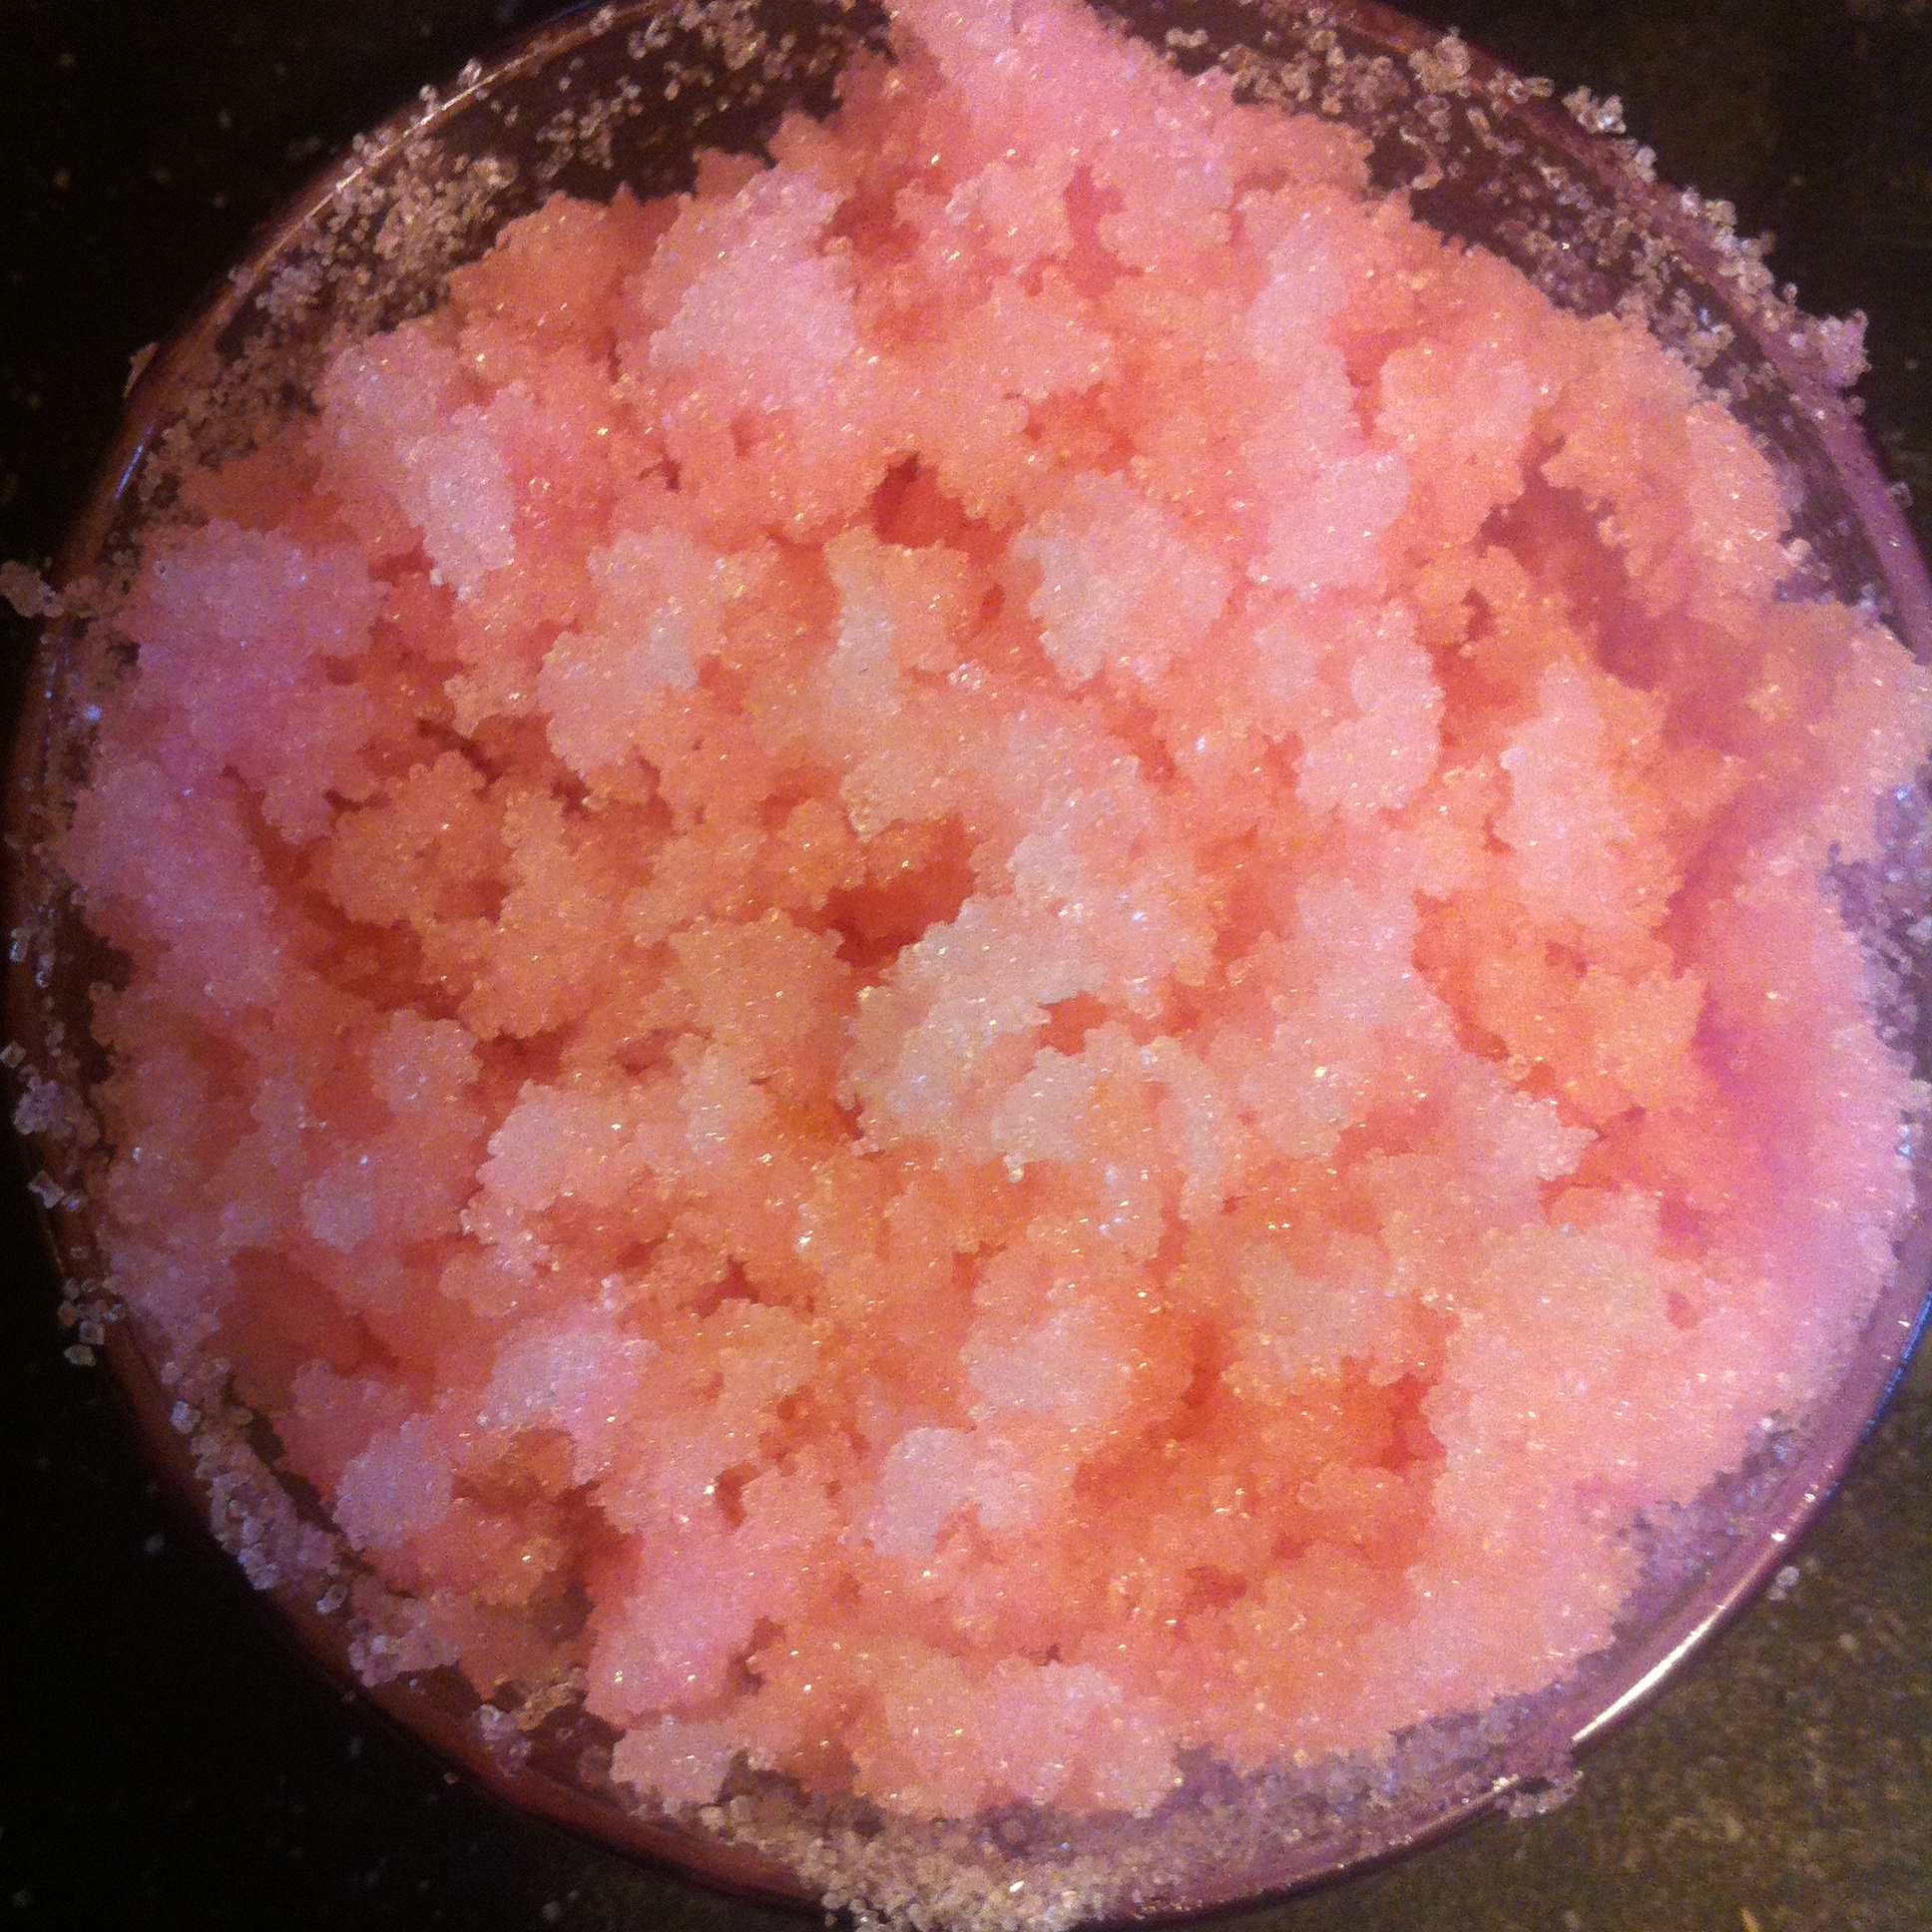
This simple lip scrub recipe is nourishing to your lips & can add a nice lip tint as well if you choose to add in a natural colorant. Lots of store bought products contain harmful chemicals & why would we want to put that on our skin and so close to our mouths? :/

DIY all natural Lip Scrub 1

What You'll Need:


Tools:

  • Melting pot, pan on the stove or double boiler

  • mixing bowl & spoon

  • Airtight container(s) for your finished product.


To Make:


For a 2 oz container I used:

  • 4 tbs sugar

  • 2 tbs of coconut oil (or half and half with one of the butters)

  • 1 tsp honey

  • 3 drops of peppermint oil

  • 3 drops of red colorant


Start by melting your coconut oil & butters. You can do this with a double boiler, meting pot, a pan, etc.

Remove from heat and add in your honey, colour & scent. (if using)

IMG_2665

With your sugar in a mixing bowl, slowly and evenly pour the melted mixture over your sugar, stirring until everything is consistently mixed. 

IMG_2666

Sometimes it's easiest to add more sugar afterwards until you're happy with the consistency.

IMG_2671

IMG_2672

Spoon into your containers, add a label if you so choose & enjoy!

IMG_2674

IMG_2691

Here is a FREE printable if you're using similar containers and would like to use a similar label:

HHM SUGAR HONEYSee the post on creating labels to put the labels into a collage for easier printing.

Happy Exfoliating! ~ <3

I recommend Mountain Rose Herbs & Starwest Botanicals for all of your herbal healing needs! You can purchase any extra supplies over at Amazon.caImages Edited using PicMonkey. Some of the links here are affiliate sites. & Please also see my disclaimer. Thanks Friends.

How to Create Product Labels Using PicMonkey!

How to create beautiful labels for your homemade products using PicMonkey!

I love PicMonkey! They offer so many free options as well as an extremely reasonable month to month premium membership for only $ 4.99 !! They even offer a FREE week trial for first time users.

As most of you know, I edit nearly all of my images using PicMonkey & I also use it to create all of my product labels. I thought I would share some tips and ideas for creating simple yet beautiful labels & I think I will also make a post with some printables from ones I've made in the near future. (Let me know if that's something of interest, and what you would like to see)

Onto some simple tutorials:

Head on over to http://www.picmonkey.com/

Start by selecting the design option and choosing the shape of canvas you would like to start your label as.

Create Labels on Picmonkey 1

I chose a square to start these labels.

Next select any canvas colour your heart desires.

Create Labels on Picmonkey 2

White is basic and you can then choose any effects or overlays to put on top of it. You can also change how the overlay looks by going into the options menu.

Create Labels on Picmonkey 3

I stuck with a plain white canvas for my first example. Next you will go into the 'sticker' section, which is currently shaped like a butterfly on the side menu. You can choose any shape you like, but I chose one from the 'labels' list. You can change the colours to anything you'd like.

Create Labels on Picmonkey 4

Now you can go into the 'font' menu on the side panel and pick your favourite(s). Type in what you'd like it to say and you can move the font bubbles around or change the size, colour and fade as well.

Create Labels on Picmonkey 5

There is your first label! TAH-DAH! - Don't forget to hit save when you're done!

Lavender Sugar ScrubNext, we'll create more of a custom option. I chose to do this one in a circle but there are options to make it a square etc.

Start by deleting the 'sticker' label we chose to use. To do this, click on the label and select the delete option.

Create Labels on Picmonkey 6

Going back into the stickers option on the side panel and into 'geometric' select a circle. Pull the circle to fit up and around your text by dragging the slider bar. Next, right click the circle and hit 'send to back' this will put the circle behind your text.

Create Labels on Picmonkey 7

Depending on the colour you've chosen, you may have to change your font colour so you can see it on top of the circle. For this, I wanted a black frame around a white label so I added a white circle and hit the 'send backward' option by right clicking. This will push it behind your text but not behind the black circle. (You can always do this the simple way and create your shape first and then do the text last, I just wanted to show the options)

Create Labels on Picmonkey 9

You may have to move your shapes out of the way as Picmonkey doesn't have a layer list and sometimes they are hard to select. To change your font colour, reselect it, highlight it and move the colour slider until you're happy. I went with plain black for these.

Create Labels on Picmonkey 8

Once everything is back in line, go back into the sticker menu and select from the 'labels' again. I chose a dotted circle. Pull the shape using the slider until it's where you want it.

Create Labels on Picmonkey 10

You can choose to embellish this with little stickers etc. However you like. & There you have it, another way to create a label! - Don't forget to hit save when you're done!

HHM Sugar scrubNow, if you want to get a little fancy, you can select to ombre the background by going into the 'seasonal' section at the bottom of the list and going into the 'sweethearts' section.

Create Labels on Picmonkey 11

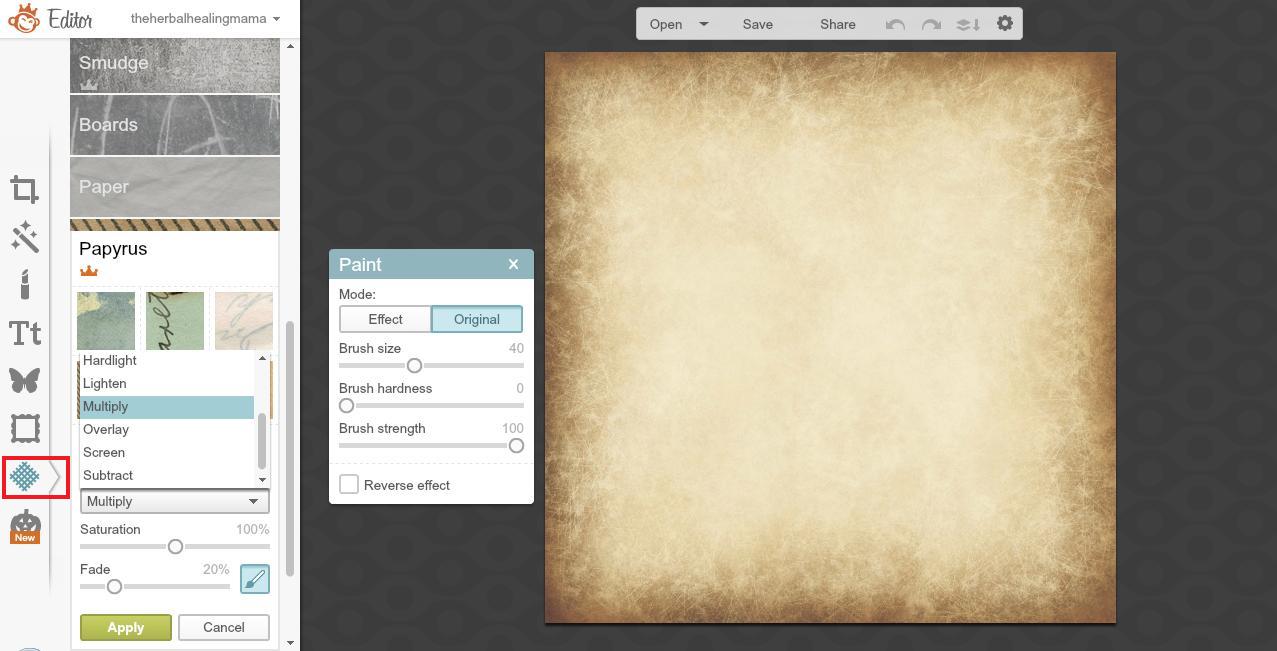
You can also put on an overlay. (Similar to the top, but there are other ones to choose from in the different seasonal sections.) To use these, go into 'heart cutouts' but change the size to 0%.

Create Labels on Picmonkey 12

Now, if you go into the frame section of the menu bar, you can choose a 'shape cutout'. Stars, Hearts, Circles, Squares etc. This is an easy way to create a shape for a label.

Create Labels on Picmonkey 13 Create Labels on Picmonkey 14

And there is a third way to create a fancy label for your products! - Don't forget to hit save when you're done!

Lavender Rose UntitledxxNow, to print them, I find the easiest way is to create a collage - also using PicMonkey! - Go back into the start menu. You can do this from hitting the 'x' on the upper left corner. and then select collage.

Create Labels on Picmonkey 15

Choose your labels that you just created. And then go into 'square deal' on the side menu. Choose however many you'd like to have on one sheet of paper. (This will depend on how large or small you'd like the labels to be.) You can play around with this option. I also slide the shape of the entire box to be closer to that of a standard 8.5 x 11 sheet of paper since I print at home.

Create Labels on Picmonkey 16

Drop and drag your images or select 'auto fill' at the top.

Create Labels on Picmonkey 17

Once you're happy, save your collage and then print your beautiful new labels out!

You can purchase blank sticker sheets HERE.


Most of the examples here are using a premium membership. If you decide to sign up for PicMonkey Premium through my link - I earn a small commission. I would appreciate it greatly.


I hope some of you found this useful! ~ <3

picmonkey_728_90

Images Edited using PicMonkey. Some of the links here are affiliate sites. & Please also see my disclaimer. Thanks Friends.