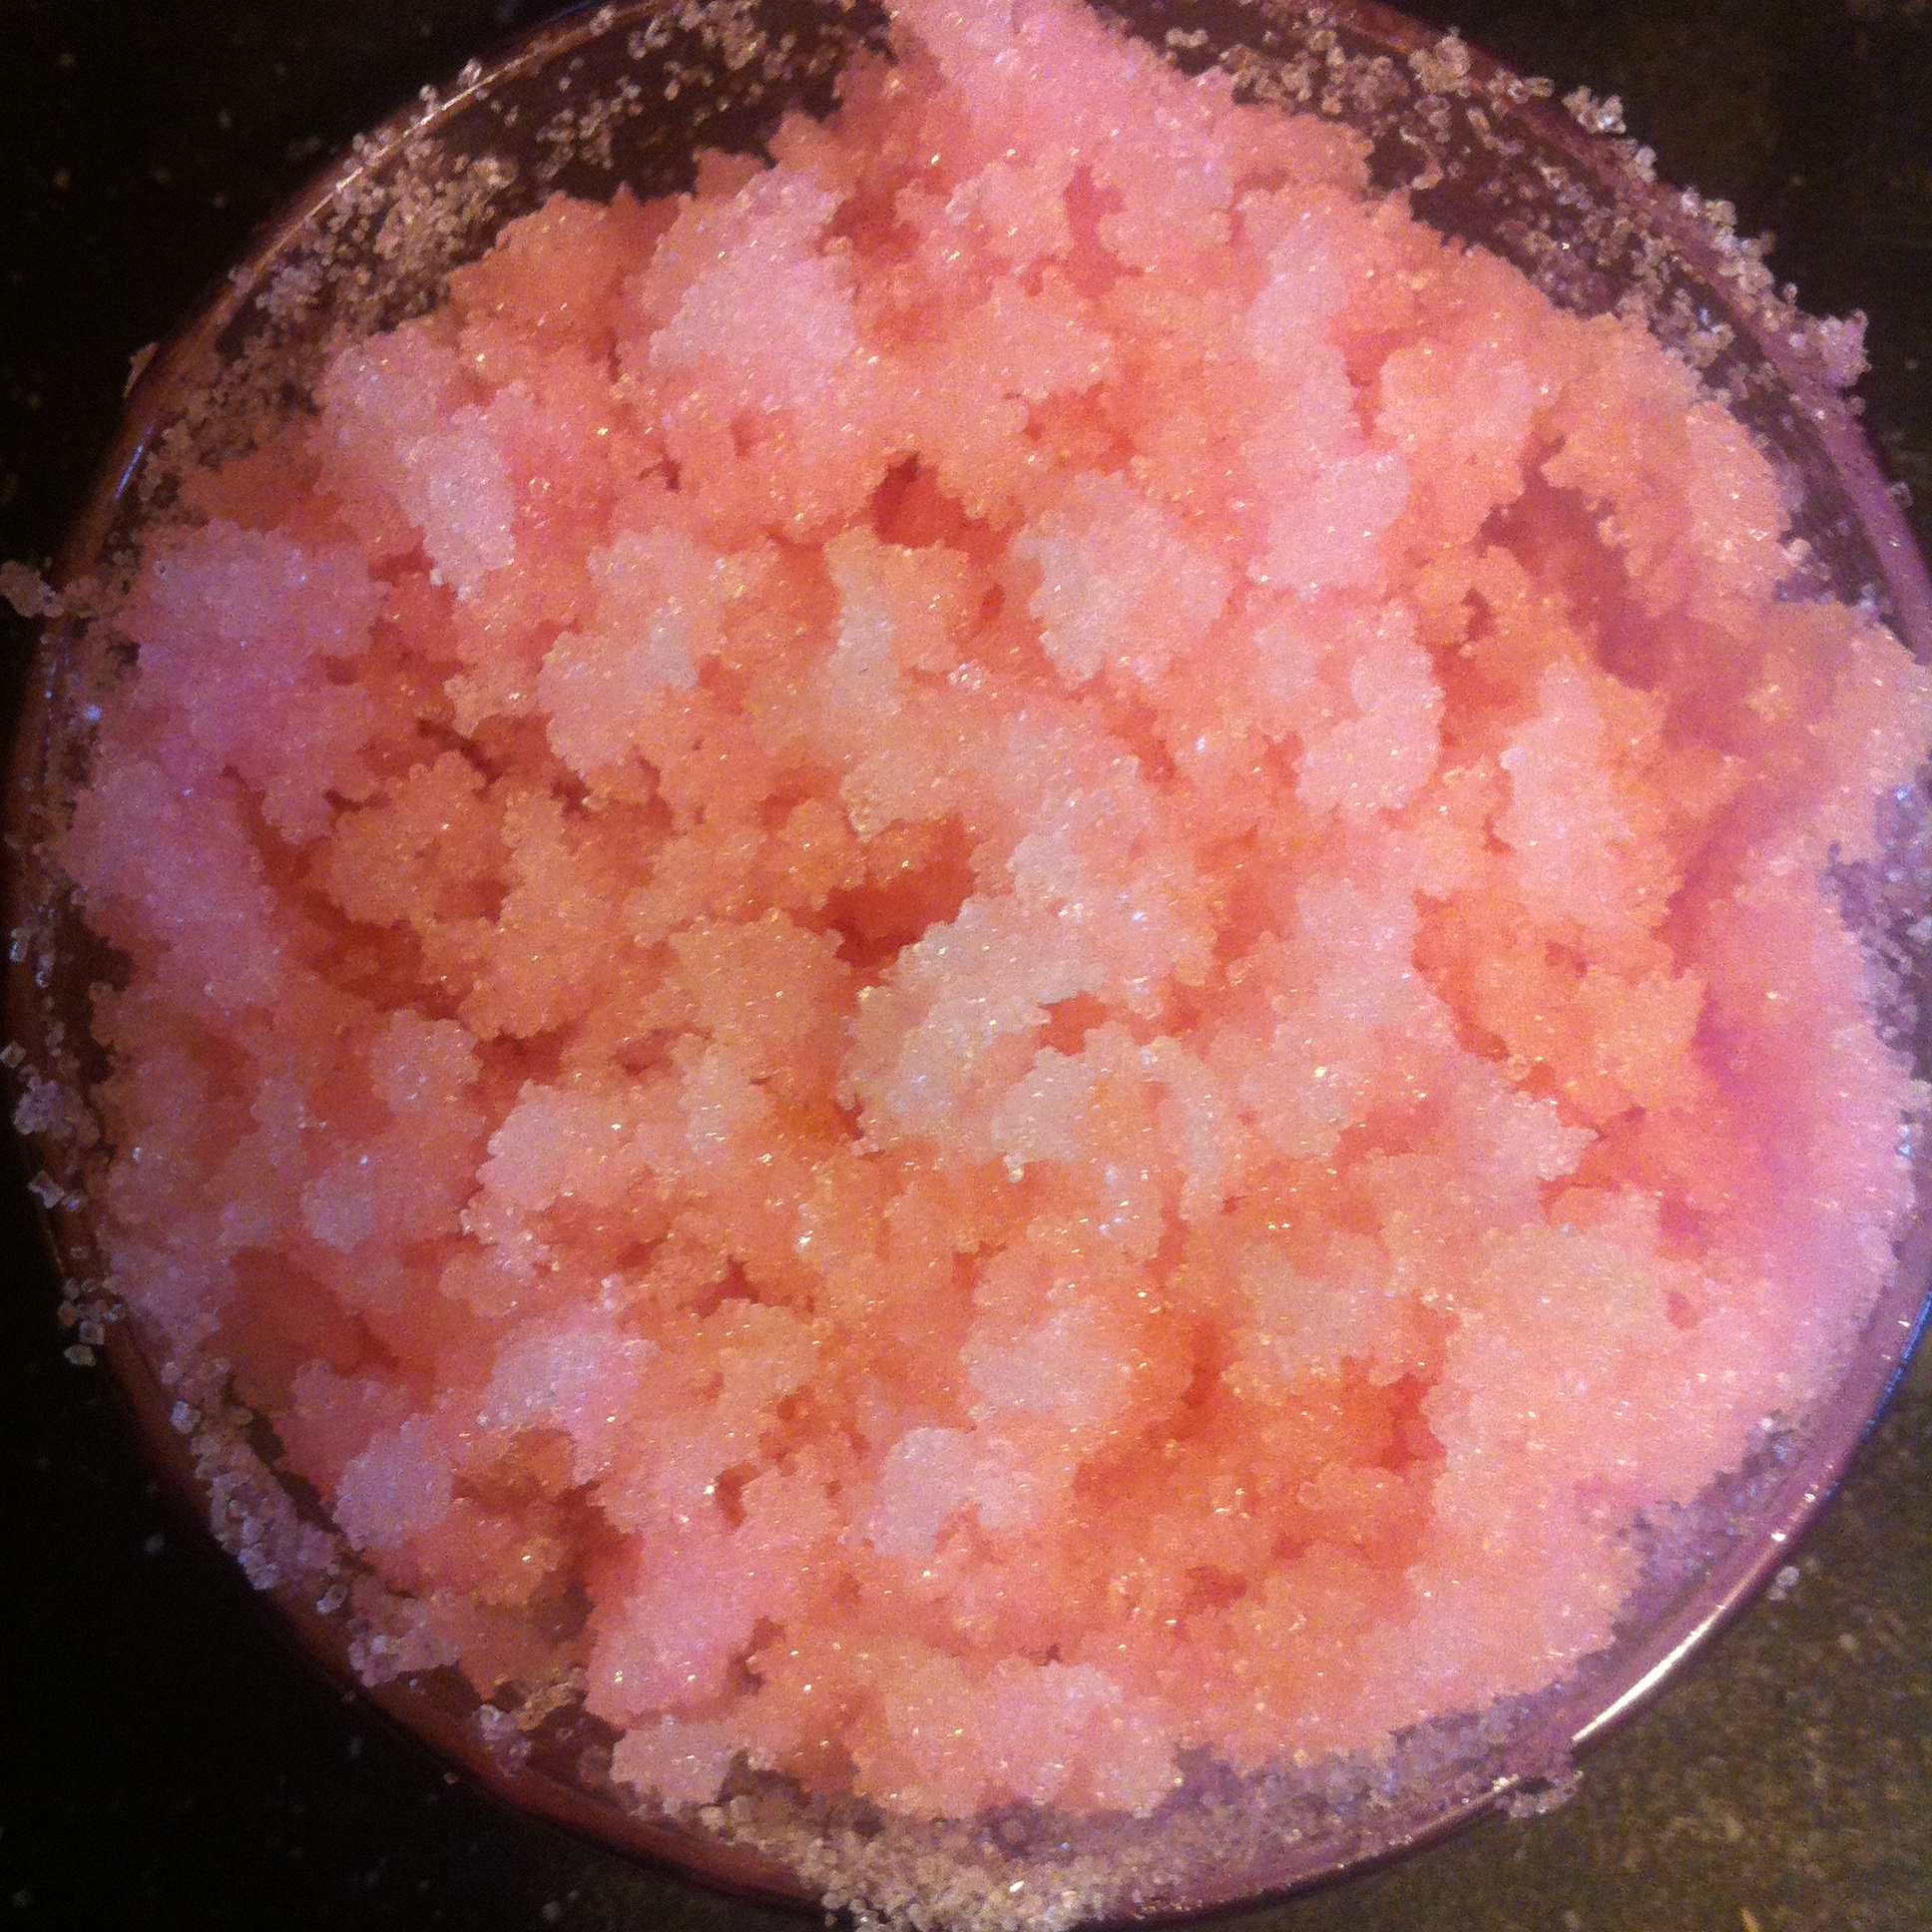
Showing posts with label sugar scrub. Show all posts

Tuesday, October 28, 2014

DIY Solid Exfoliating Bars.

This bar has many nourishing ingredients in it, used to exfoliate and moisturize your skin. These bars are great for everyday exfoliating as well as healing stretch marks, cellulite & providing moisture to your skin. 

The caffeine in coffee helps to stimulate blood circulation to the affected area so the healing process can begin. Honey is also known for helping to reduce stretch marks and cellulite by removing toxins from the affected areas. Calendula & Coconut oil are amazing at healing nearly anything & they work as intense moisturizers as well.

We talked a bit about the benefits of coffee for our skin over in the post: Exfoliating Coffee Cubes - For Stretch Marks & Cellulite. 

This recipe is completely customizable to suit your preference but I've outlined the basic recipe that I like to use.

Solid Exfoliating Bars - DIY


What You'll Need:


Tools:

  • Mixing Bowl & Spoon

  • Silicone Molds of choice. (I used THESE round ones and THESE square ones) (The circles may be a bit more of a gentle shape for your skin - also easier to hold)

  • Airtight jar for storage


To Make:


Put all of your ingredients in a large mixing bowl and stir until everything is combined evenly.

I added a bit more sugar to my mix so it wasn't quite as sloppy as the top stage. It'll definitely take much longer to cure this way.

You want to make sure the consistence of the mixture is a little on the damp side. This will evaporate as we let them cure and turn them solid. I've put together some photos of what the stages should look like below.

Scoop into your molds and press down firmly so there are no air bubbles.

How to make your own exfoliating bars


Here comes the part where patience comes into play. Much like allowing soap to cure, these bars will take a while to completely solidify. They should then be stored in an airtight jar or container.

*Some people suggested putting them in the oven on the lowest setting for a few hours to dry them out faster. ( I was trying to rush things for the craft sale at the beginning of the month) I tried this and it just turned out to be a massive mess. The mixture boiled over and started melting itself to the bottom of the oven. I definitely don't recommend doing it this way. I think patience is key here.

Allow them to dry completely somewhere safe, dry and clean like you would soap. No where that has any humidity. It'll take a few weeks for them to solidify completely.

Once they look the the end photo above, you can stretch the mold from side to side like you would an ice cube tray and gently push them up out of the mold without them breaking.

I allowed mine to sit out between brown paper for a few more days. They are now rock solid.

To Use:


Bring the bar into the bath or shower with you. Gently massage in circular motions.

The bars stay solid and gradually break down while you use them. They stay together very well and work wonderfully for exfoliating.

You will have bits of oatmeal and coffee floating around with you + the oils so just be careful as it could make the tub slippery. 

Happy Exfoliating! ~ <3


Solid Exfoliating Bars - DIY all natural


I recommend Mountain Rose Herbs & Starwest Botanicals for all of your herbal healing needs! You can purchase any extra supplies over at Amazon.ca. Images Edited using PicMonkey. Some of the links here are affiliate sites. & Please also see my disclaimer. Thanks Friends.

Other posts you might like: 

Calendula Healing Salve

50+ Uses for Coconut Oil 

Sunday, October 19, 2014

DIY Lip Scrub ~ All Natural

This simple lip scrub recipe is nourishing to your lips & can add a nice lip tint as well if you choose to add in a natural colorant. Lots of store bought products contain harmful chemicals & why would we want to put that on our skin and so close to our mouths? :/

DIY all natural Lip Scrub 1

What You'll Need:


Tools:

  • Melting pot, pan on the stove or double boiler

  • mixing bowl & spoon

  • Airtight container(s) for your finished product.


To Make:


For a 2 oz container I used:

  • 4 tbs sugar

  • 2 tbs of coconut oil (or half and half with one of the butters)

  • 1 tsp honey

  • 3 drops of peppermint oil

  • 3 drops of red colorant


Start by melting your coconut oil & butters. You can do this with a double boiler, meting pot, a pan, etc.

Remove from heat and add in your honey, colour & scent. (if using)

IMG_2665

With your sugar in a mixing bowl, slowly and evenly pour the melted mixture over your sugar, stirring until everything is consistently mixed. 

IMG_2666

Sometimes it's easiest to add more sugar afterwards until you're happy with the consistency.

IMG_2671

IMG_2672

Spoon into your containers, add a label if you so choose & enjoy!

IMG_2674

IMG_2691

Here is a FREE printable if you're using similar containers and would like to use a similar label:

HHM SUGAR HONEYSee the post on creating labels to put the labels into a collage for easier printing.

Happy Exfoliating! ~ <3

I recommend Mountain Rose Herbs & Starwest Botanicals for all of your herbal healing needs! You can purchase any extra supplies over at Amazon.caImages Edited using PicMonkey. Some of the links here are affiliate sites. & Please also see my disclaimer. Thanks Friends.

Saturday, October 18, 2014

Sugar Scrub Cubes! ~ DIY all natural!

This recipe can be as plain or fancy as you'd like. All depending on your preferences. You can add in bits of herbs, natural colourants, different butters and oils etc. This post will be a down to the basics, as simple as possible post & later I will add more extravagant variations of the same basic recipe.

I find these incredibly more handy then a regular sugar scrub, as you would normally have to carry a scoop with you to the shower all the while being careful not to get water into the rest of the mixture. With these, you just bring a single cube along with you. No need for messes or containers!

I see a lot of these with a melt and pour soap base added. I don't have things like this on hand and so, if you're like me - you may want a recipe without all the fancy stuff! - Just your basic exfoliating sugar scrub - in cute little cubes!

make your own sugar scrub cubes

What You'll Need:


BASICS:

OPTIONAL:

Tools:


  • silicone mold ( I used one similar to THESE)

  • mixing container & spoon / spatula.


To Make:


For the 15 cavity mold I used to create these I used approximately

  • 2 1/2 cups of sugar

  • 1/4 cup melted coconut oil ( you can mix the butters into this measurement if you're going to use them )


Melt your butters and oils first. In a big mixing bowl, pour in your amount of sugar. Slowly pour your melted oil in, mixing constantly.  You want this to be spread evenly. You may not need all of the measured coconut oil.

I spritzed mine with distilled water. I find this helps hold everything together. (You will want to be sure these are fully dried before sealing these up though, as the water kept damp would create a bacteria issue)

Mix ingredients until you have a similar looking consistency as what is shown below. When your spoon is able to make a good firm indent without your mixture falling back, then you've got the right consistency.

sugar scrub cubes Spoon your mixture into your molds and push down firmly with a spoon or your fingers. You don't want any air pockets in between these or else they won't stick together properly.

sugar scrub cubes DIY

Leave your mixture in the molds until they have completely hardened. Trying to pop them out early will break them. This is where patience comes into play! ;) I left mine sitting for 3 days. You could also keep these in the fridge to solidify. As long as they aren't in a humid space.

Once you can press firmly on the tops of them and they seem to be completely solid, carefully pull the tray apart from side to side to start releasing them. Push from the bottom of the mold until they pop up and out.

sugar scrub cubes

You could let them air dry another day or so.

Adorable Right!? Now you can package them up any way you choose or store them in an airtight jar. We decided to wrap these ones in cellophane with a cute little ribbon. (Thanks Richelle for the brilliant idea)

Sugar scrub cubes packaged

To Use:

Bring a single cube with you into the bath or shower. With wet hands kneed the cube until it begins to crumble. Massage gently in circular motions where you need a little exfoliation. Always moving toward the heart. This helps regulate blood flow.

Happy Exfoliating! ~<3

Have you got a favourite sugar scrub recipe you make at home?


I recommend Mountain Rose Herbs & Starwest Botanicals for all of your herbal healing needs! You can purchase any extra supplies over at Amazon.ca. Images Edited using PicMonkey. Some of the links here are affiliate sites. & Please also see my disclaimer. Thanks Friends.

Thursday, October 16, 2014

Pumpkin Spice Bath Blend, Lotion Bars & Sugar Scrub! ~ DIY

Pumpkin season is here! (Be Sure TO Enter October's GIVEAWAY HERE!)


Pumpkin is very beneficial for our skin, it's natural nourishing. These blends are more about the wonderful cozy Fall Scents with the healing benefits packed into the other ingredients. If you would like to have full benefits, you can use real pureed pumpkin BUT remember - only enough should be made for a one time use as it won't keep as long as dried ingredients.


These little blends are quick and super easy and would make really cute gifts!

Pumpkin Spice Blends DIY


PUMPKIN SPICE BATH BLEND:


WHAT YOU'LL NEED:

Tools:

  • Airtight jar(s)

  • mixing spoon

  • mixing bowl

  • funnel


TO MAKE:


The measurements will be determined by the size of container you are using. If you are making multiple jars for gifts you can measure the amount of salts per container and pour it all into one big mixing bowl.

Add in 1 tbs of pumpkin spice at a time, measuring by scent desired. If you're colouring the salts you can see some ideas at the bottom of the page.

Stir until everything is uniform and add with a funnel or spoon into your airtight jars.

Decorate your jars if you please or add a pretty label!

TO USE:

Sprinkle some into a tub of running water. Mix in until all of the salt crystals melt. Enjoy!


 PUMPKIN SPICE LOTION BARS:


WHAT YOU'LL NEED:

Depending on how firm or soft you like your lotion bars will determine how much of each ingredient to use. More beeswax will be more firm, less (or more of an oil) will be softer. SO I'd say for me, I like equal parts of each of the above ingredients BUT If you are adding in the optionals below (more beneficial for your skin) then I would put in a little bit more beeswax. (amounts will also depend on how many you are making)

optional:

Tools:

  • Melting pot or double boiler

  • stir stick or spoon

  • silicone molds of your choosing ( I used ones similar to THESE)

  • plastic wrap or cellophane

  • pumpkin stickers (optional) (Links below)


Pumpkin Spice Lotion Bars Pumpkin Spice Lotion Bars - The Herbal Healing Mama

TO MAKE:


Melt beeswax first (double boiler, pan, melting pot etc - I use a wax melting pot, but anything safe should do)

Slowly stir in your other ingredients, leaving shea butter until last. (it may 'crystallize' if heated too much) If at any point you'd like to test your consistency, you can do so by dipping a frozen spoon in your mixture.

Remove from heat and pour into your molds.

Allow to cool thoroughly or put them into the fridge to speed the process.

Now you can package them up how you'd like. I wrapped them in cellophane and stuck the labels and stickers to them.

These cute little pumpkin faces came from our local Dollarama but you can get them HERE if you don't have one local to you. They are actually for putting on your beverages. OR you could get really creative and make some up on PicMonkey and print them out!

TO USE:

You can either rub the bar directly on skin and massage in or you can rub the bar between your hands and rub onto skin. The bar will start to 'melt' and release it's nourishing benefits once warmed by your skin. This could also be used as a massage bar, though I'm working on a post for some of those as well. ;)


PUMPKIN SPICE SUGAR SCRUB:


WHAT YOU'LL NEED:

Optional:

Tools:

  • Mixing bowl

  • Stir Stick or spoon

  • Funnel

  • Airtight storage jars (THESE, THESE or THESE are adorable!)

  • Ribbons or stickers, however you'd like to decorate your jars (If you choose)


Pumpkin Spice Sugar Scrub

TO MAKE:


Measure out (by using your containers) and pour the amount of sugar wanted into your mixing container and spoonful by spoonful, add in your pumpkin spice or oil.

Continue mixing until everything in uniform in colour. (If you are only making a single batch for yourself, you can do this straight in your container, shaking it to mix)

Once you're happy with the consistency and scent, add the mixture into your containers using a funnel and a spoon.

Decorate the jars to your preference and you're all done!

TO USE:

Be sure to keep a clean dry spoon to get some of your mixture. (Introducing water into the mixture can create bacteria growth) Wet skin first, (shower or bath) take a spoonful or so and massage gently in a circular motion (toward the heart) with warm water. Your skin will be left feeling silky smooth!


A Little Info on our Ingredients!


pumpkin_pie_spice-product_1x-1403633522

PUMPKIN SPICE

This delightful blend has become an American tradition known for its ability to boldly flavor Pumpkin Pie during the Fall season, and is the revered aroma we commonly associate Thanksgiving with. Made with a blend of spices which produces a unique warm flavor, Pumpkin Pie spice is also used on cider, cookies, baked vegetables and more.
Contains: organic Cinnamon, organic Ginger, organic Nutmeg, organic Allspice, and organic spices. Salt-free.

- Mountain Rose Herbs - Purchase Here

pumpkin_seed_oil-product_1x-1403633528


PUMPKIN SEED OIL

Pumpkin seed oil is one of the most nutritional oils available, and is an excellent source of essential fatty acids, antioxidants, vitamins, and sterols. It contains Omega-3 and Omega-6 fatty acids, which are known to promote energy levels, brain function, and overall health and vitality. It also contains vitamins A and C, zinc, and other trace minerals and vitamins. Historically, pumpkin seeds (either the whole seeds or the pressed oil) have been used all around the whole for healing purposes.

- Mountain Rose Herbs- Purchase Here


If you'd like more of an orange tint you can try:


(Adding a few drops should do)

Pumpkin blends

HAPPY OCTOBER FRIENDS! ~ Have you got any all natural pumpkin recipes you would like to feature on our blog for the month of October? Please check out the Opportunities section of the blog or shoot The Herbal Healing Mama an email at: theherbalhealingmama@outlook.com

<3

If you make these or any of the recipes on the blog The Herbal Healing Mama would LOVE for you to send over some photos! If you have a small business (or not) we would be happy to share your made products on our social media pages and tag in links to your work!

I recommend Mountain Rose Herbs & Starwest Botanicals for all of your herbal healing needs! You can purchase any extra supplies over at Amazon.ca.
Images Edited using PicMonkey. Some of the links here are affiliate sites. & Please also see my disclaimer. Thanks Friends.

Wednesday, June 11, 2014

How to make your own All Natural Exfoliating Sugar Scrub!


This recipe has made my skin feel amazing! So many benefits packed into one little jar! ^_^ Not only does this scrub nourish your face (or body) with moisture, it helps to heal up any dry skin issues, redness and acne too!

There are so many variations of different face and body scrubs, which I will be sure to share more recipes, but in the meantime - This is definitely one of my favourites!

For this recipe you will need:

  • Mixing bowl or mason jar

  • 2oz jar or container (you can purchase great ones HERE)

  • 2 or 3 tbs of brown sugar (raw is my favourite)

  • 1 tbs honey

  • 1tbs Coconut Oil

  • a few drops of lemon (or Lemon Oil) (because citrus blends are phototoxic it is recommended to use this scrub in the evening or before bed, when you won't be exposed to the sun.)

  • 2 drops of Tea Tree Oil

  • 2 drops of Lavender Oil


I made this recipe to fit in a 2oz jar, you can take away or add ingredients to fit into whatever container you will be storing this in.

1. Add your sugar first to your mixing bowl. (I of course went straight to the container and made a mess trying to keep it contained)


2. Add in your spoonful of honey.


3. Next add in your Coconut Oil (I ended up doing this the hard way. It would make much more sense to melt the coconut oil before you add it to the scrub.)


4. Add in your lemon, Lavender & Tea Tree Oils


5. Now if you were smart and melted your coconut oil ahead of time, you can ignore this step. If you pulled a move like me, then carry on to this step to combine all of the ingredients.


Using a double boiler method, put a wee bit of water in a small pan. (not enough to seep into the jar) Place the jar in the pan and on low heat allow the mixture to melt together. Stirring constantly. (I know some people say to do this in the microwave for a few seconds, while I agree that would be faster, I just don't think it's healthy.)


Once your ingredients are combined & put in your container you are ready to make your skin silky smooth! ^_^

Directions for use:

  • Splash your face with warm water.

  • Scoop a chunk of the scrub into your hand. With warm water mush it into your hand creating a consistent paste.

  • Massage gently onto your face (or body) in a circular motion. (You can also use this as an amazing lip scrub)

  • Leave the mixture on your face for about 5 minutes.

  • Rinse off with warm water.

  • Steam your face with a warm facecloth.


TA-DAH! Skin that feels nourished & refreshed!

IMG_4207xxc

I recommend Mountain Rose Herbs for all of your herbal healing needs!

Do you make your own all natural scrubs or facials? What do you use for yours?

Thanks for the visit & Happy Healing!! <3

Images Edited using PicMonkey. Some of the links here are affiliate sites. & Please also see my disclaimer. Thanks Friends.